Step-by-Step Guide: How to Draw a Dog’s Paw
Paw prints are marks made by paws or feet of certain animals like dogs, cats, or a bear. Nowadays, paw prints are being used as a design and can be seen on shirts, bags, and many more. To fulfill our reader’s wishes, we have created a step-by-step tutorial on how to draw a paw print. This guide consists of 9 easy instructions, all of which come with simple illustrations that serve as your visual guide as you follow the steps one by one.
Key Takeaways
- Learn how to draw a realistic dog’s paw print with this beginner’s guide.
- Follow the step-by-step instructions and illustrations to create a detailed paw print.
- Gather the necessary materials such as paper and a pencil before starting.
- Experiment with colors and personal touches to make your paw print unique.
- Unleash your creativity and continue exploring the world of drawing.
Materials Needed
In order to draw a dog’s paw, you will need a few basic drawing supplies.
- Drawing supplies: To start, you’ll need a pencil and a piece of paper. It’s important to choose a paper that is suitable for drawing to ensure the best results.
- Paper: Select a high-quality drawing paper that is smooth and durable. This will provide a good surface for your pencil strokes and prevent smudging.
- Pencil: A standard graphite pencil will work well for sketching and adding details to your dog’s paw drawing. Consider using different pencil grades, such as HB or 2B, to achieve various shades and textures.
- Eraser: Have an eraser on hand to correct any mistakes or make adjustments to your drawing. A kneaded eraser is a good option as it can be shaped and molded to erase small areas with precision.
By gathering these materials, you’ll be well-equipped to embark on your journey to draw a realistic and detailed dog’s paw.
Recommended Drawing Supplies
| Item | Brand | Price |
|---|---|---|
| Pencil | Faber-Castell | $2.50 |
| Paper | Strathmore | $5.00 |
| Eraser | Tombow | $1.99 |
Step-by-Step Instructions
Now it’s time to start drawing the dog’s paw. Follow these step-by-step instructions to create a realistic paw print.
- Begin by drawing a downward curved line to represent the metacarpal pad.
- Add the digital pads by drawing ovals beside the metacarpal pad. Remember to leave a slight gap between the pads.
- Continue adding the remaining digital pads and draw the claws above each pad.
- Finally, add any additional details or patterns to make the paw print unique.
Coloring the Paw Print
Now that you have finished drawing the paw print, it’s time to add some color. Adding colors to your artwork can bring it to life and enhance its visual appeal. Whether you want to keep it simple with one color or get creative with multiple colors, the choice is yours. Experimenting with different color choices allows you to express your personal style and make the paw print uniquely yours.

When choosing the colors for your paw print, consider the overall look and feel you want to achieve. Are you going for a natural, realistic look or a vibrant, eye-catching design? The color palette you choose will greatly impact the final result. You can use traditional colors such as brown or black for a classic look, or you can explore different shades and patterns for a more artistic touch.
Pro Tip: Use complementary colors to create contrast and make your paw print stand out. For example, if you have a predominantly warm-toned paw print, add a touch of cool-toned color to create visual interest.
Remember, there are no hard and fast rules when it comes to coloring your paw print. It’s all about personal preference and unleashing your creativity. Feel free to experiment with different techniques such as shading, blending, or even adding textures to make the colors pop.
Pro Tip: Use colored pencils, markers, or even watercolors to achieve different effects. Each medium offers its own unique qualities and allows you to explore different color application techniques.
Whether you want a realistic or a whimsical interpretation, adding colors to your paw print will elevate it to the next level. So grab your favorite art supplies and let your imagination run wild.
Adding Personal Touches
Now that you have drawn a basic paw print, it’s time to add your own personal touches and bring your artwork to life. Customizing the paw print allows you to create a unique and personalized piece of art. Here are some ideas to inspire you:
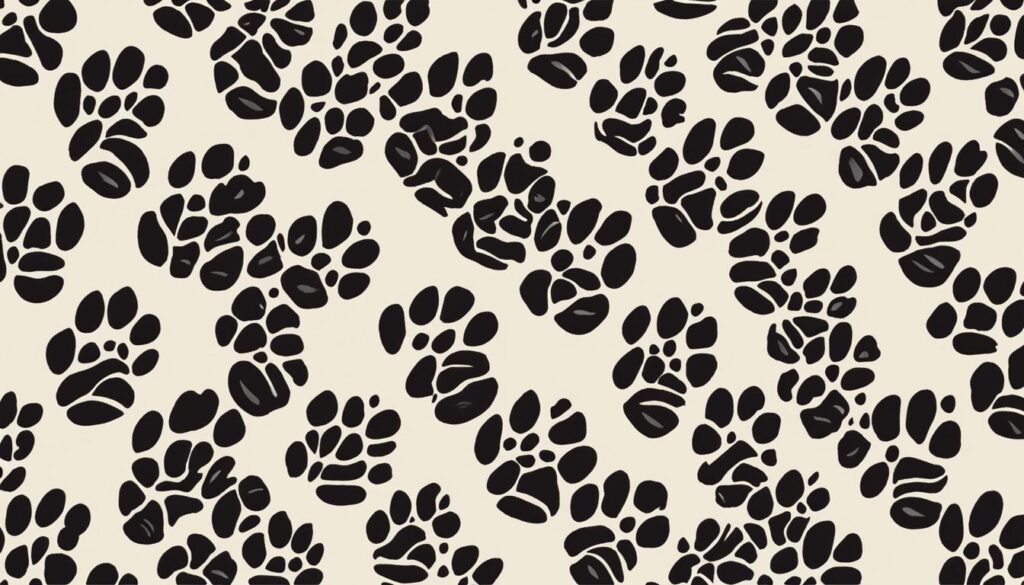
- Trail of Paw Prints: Extend the paw print by creating a trail of smaller paw prints around it. This can add movement and depth to your artwork.
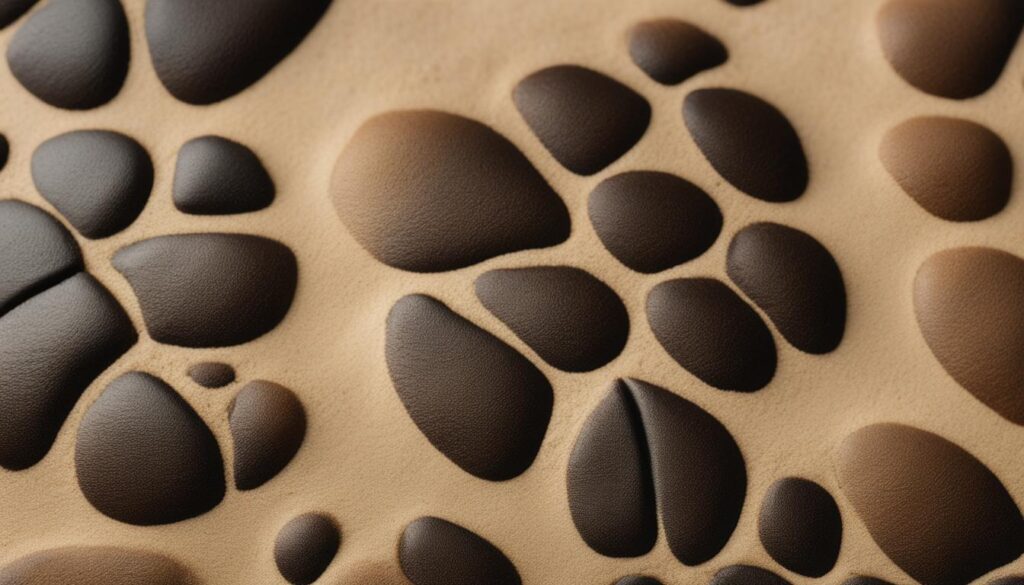
- Textures: Consider adding textures like mud or sand to the paw print. This can be done by using shading techniques or incorporating different patterns in the design.
- Patterns and Shapes: Get creative by adding patterns or shapes inside the paw print. This can make the artwork more visually interesting and unique.
Remember, the possibilities are endless when it comes to customizing the paw print. Don’t be afraid to experiment with different art tools and mediums to achieve your desired look. Your imagination is the limit!
Example:
“I wanted to create a paw print artwork with a beach theme, so I added textures of sand to the metacarpal pad and ovals to represent the digital pads. I also included seashell patterns inside the pads to give it a personalized touch. It turned out to be a unique and fun piece!”
Have fun adding personal touches to your paw print artwork and let your creativity shine! Below is an example of a customized paw print:

Conclusion
Drawing a dog’s paw can be a rewarding and enjoyable experience. Through this step-by-step guide, you have learned how to create a realistic and detailed paw print. By following the instructions and using your artistic skills, you can now confidently sketch a paw print that captures the essence of a dog’s paw.
Remember, drawing is not just about replicating an image, but it’s also about unleashing your creativity. Don’t be afraid to add your personal touches to the paw print. Experiment with different patterns, colors, and textures to make your artwork unique and one-of-a-kind.
Once you have completed your drawing, share it with others. Display your artwork proudly or post it on social media to inspire and connect with fellow art enthusiasts. And most importantly, continue to explore the world of drawing. There are endless possibilities and subjects waiting to be brought to life through your artistic skills.
FAQ
What supplies do I need to draw a dog’s paw?
To draw a dog’s paw, you will need a piece of paper and a pencil. It’s also helpful to have an eraser on hand to correct any mistakes.
How do I draw a dog’s paw step by step?
Follow these step-by-step instructions: Start by drawing a downward curved line for the metacarpal pad. Then, add ovals for the digital pads, leaving a slight gap between them. Continue with the remaining digital pads and draw claws above each pad. Add any additional details or patterns to personalize the paw print.
Can I color the dog’s paw?
Yes! You can choose to color the paw print with the same color or opt for a different color. You can also experiment with multiple colors to create a multi-colored paw print.
How can I add personal touches to the dog’s paw print?
You can customize the paw print by adding a trail of paw prints, textures like mud or sand, or patterns and shapes to make it more unique. Feel free to explore different art tools and mediums to create your desired look.
What is the recommended approach to drawing a dog’s paw?
Take your time, follow the step-by-step instructions, and don’t be afraid to make adjustments or experiment. Drawing a dog’s paw can be a fun and creative activity, so embrace your artistic freedom.


